Power Meters for Triathlon: Value, Types and First Use
Decide whether a power meter will improve your training decisions, compare fitting requirements and learn how to collect interpretable data.
By Lotte
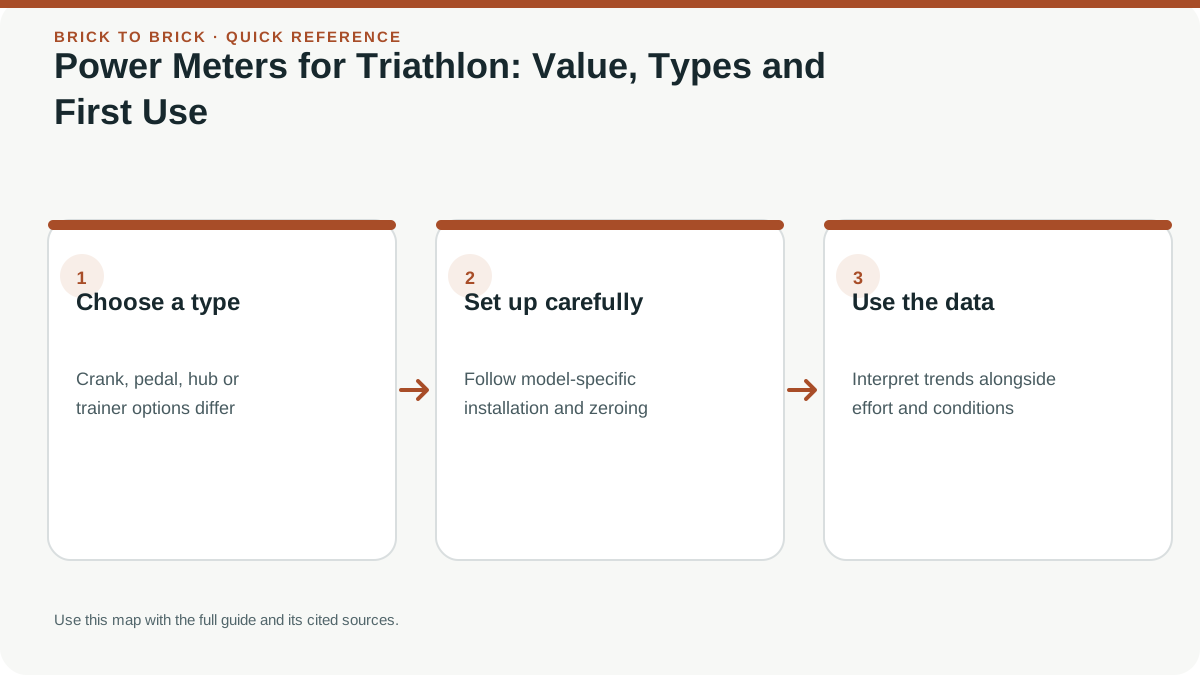
A power meter measures cycling power in watts and can help you pace repeatable efforts. It is worth considering when you have a clear use for the data, a compatible installation and enough consistency to compare sessions meaningfully.
In this article
- 1Know what power can and cannot tell you
- 2Compare where the measurement happens
- 3Price the installed system
- 4Establish a repeatable measurement routine
- 5Use the first month to answer one question
- 6Evaluate the purchase by changed decisions
- 7Avoid comparing two power sources as if they were one instrument
- 8Decide what you would do if the power signal disappeared
- 9Separate power output from energy and race readiness
- 10Check bicycle compatibility before choosing a meter type
- 11Understand single-sided and dual-sided measurement
- 12Install and service the device according to its manual
- 13Learn the zero-offset and calibration language
- 14Keep power sources consistent for useful comparisons
- 15Set up a simple display before adding advanced fields
- 16Use a power zone only after understanding its reference
- 17Protect triathlon bike fit and handling when adding hardware
- 18Make power useful on the course, not just in the file
- 19Compare battery life and ongoing ownership costs
- 20Decide what success would look like after a month
- ?Frequently asked questions
Know what power can and cannot tell you
Power measures mechanical output, not how recovered you are or how safe a pace is for the whole race. The same watts can feel different with heat, fatigue, illness or a different riding position.
It can help make intervals repeatable and reveal large surges on the bike. It does not eliminate the need for perceived effort, heart-rate context or a realistic run plan.
A first-time athlete who mainly needs swim instruction, a safe bike or a repeatable schedule may find those priorities more useful than another sensor. There is no requirement to own a power meter to complete a triathlon.
Compare where the measurement happens
Pedal-based systems can be convenient to move between compatible bikes, but require suitable pedals, cleats and installation. Crank or spider systems depend on drivetrain fit. Other systems may measure elsewhere, with their own constraints.
Single-sided systems estimate total power from one side; that is not the same as directly measuring both sides. Dual-sided data can be useful, but a left-right number alone does not diagnose an injury or prescribe corrective exercise.
Compare the exact model's compatibility, battery, serviceability and supported features. Avoid assuming that every product in a category has the same accuracy or installation procedure.
Price the installed system
List any required cranks, chainrings, pedals, cleats, bottom-bracket work or head-unit changes. Check frame clearance and drivetrain generation. Ask a mechanic if fit is uncertain.
For a system moved between bikes, include the tools and repeatable setup process. Manufacturer-specific torque, crank length and calibration settings matter; installation is not complete simply because the sensor pairs.
If buying used, check physical condition, battery compartment, service support and whether all necessary parts are included. A sensor with uncertain damage history can create misleading data as well as unexpected cost.
Establish a repeatable measurement routine
Follow the manufacturer's calibration or zero-offset instructions, including when and under what conditions to perform them. Keep firmware and installation notes with the device record.
Use the same power source for comparisons where practical. An indoor trainer and on-bike meter can report differently because of measurement location and other factors. Do not silently switch sources and interpret the difference as a fitness change.
Check a few ordinary rides for plausible values, dropouts or spikes before attempting a demanding test. The computer setup guide covers pairing and recording choices.
Use the first month to answer one question
Choose an observable use: keeping an easy ride steady, avoiding large climbs above your intended effort, or completing a repeatable interval session. Do not begin by collecting every available metric.
For example, compare two familiar rides at a similar intended effort and note power, perceived effort, weather and how the run afterward feels. That does not isolate every cause, but it can reveal a pacing pattern worth discussing with a coach.
If you want training zones, use an appropriate assessment and understand its limitations. The FTP guide explains why a test-derived estimate is not a universal physiological boundary.
Evaluate the purchase by changed decisions
After several weeks, ask whether the data changed anything useful. Did you stop surging on hills, make sessions more repeatable or notice an equipment problem? If not, simplify the display and identify a clearer question.
Do not treat a high wattage as a reason to ignore symptoms, unsafe roads or an unsustainable training load. A power meter is an instrument, not a coach or medical monitor.
Keep the device if it supports decisions you value. Expensive data that you do not understand can be less useful than a short training log with consistent observations.
Avoid comparing two power sources as if they were one instrument
An indoor trainer and an on-bike power meter can report different values because they measure at different locations and use different systems. A difference does not automatically identify which one is wrong.
If you use both, record which device supplies the training software and which supplies the head unit. Warm up and follow the relevant calibration or zeroing instructions. Compare steady sections from the same ride before interpreting a discrepancy, and check batteries, firmware and installation if the pattern is unusual.
Do not alternate power sources silently when testing or setting zones. A training block is easier to interpret when the measurement source is consistent. If you change the source, annotate the change and verify the practical training targets. The purpose of the meter is to support repeatable decisions, not to produce an impressive number that cannot be compared with your previous sessions.
Decide what you would do if the power signal disappeared
Write a fallback before the first important race with a new meter. You should still have familiar effort and course cues if the battery fails, a connection drops or a reading becomes implausible. The display is an aid to pacing, not the only way to decide whether you are working too hard.
Test how your head unit indicates a missing sensor. A blank field, zero and a frozen previous value can mean different things, depending on the device. Check the manual and a controlled rehearsal rather than learning during a descent.
Afterward, label missing data clearly in the activity record. Do not interpret an average distorted by dropouts as a genuine performance change. If the meter repeatedly creates distracting problems, resolve installation or support issues before using it to make demanding training decisions. Reliability and understandable limitations are part of its value.
Separate power output from energy and race readiness
A power meter reports the mechanical power being applied to the bicycle in watts. It does not measure total energy stores, freshness, effort tolerance or whether a given output is safe for the whole event. A number becomes useful when it helps answer a training or pacing question and is interpreted with conditions and the athlete's response.
Power can rise during a short surge without the athlete noticing, and the same output can feel different after a hard swim, in heat or late in a race. Use the metric to describe what happened, not to label an athlete as fit or unfit. Combine it with effort and the plan for the next discipline.
Check bicycle compatibility before choosing a meter type
A crank, pedal or spider-based system has different installation needs. Confirm the bicycle's crank standard, bottom bracket, chainring, pedal thread, cleat system, crank length and available clearance. Some systems require a compatible crank or a mechanic; pedal-based meters can make transfer between bikes easier but still need compatible pedals, shoes and cleats.
Check the current manufacturer's compatibility list and the bike maker's service guidance before ordering. A product name that fits one frame or drivetrain may not fit another model year. If you are unsure, send the bike and component details to a qualified shop instead of relying on a retailer's generic compatibility chart.
Understand single-sided and dual-sided measurement
Some systems measure one side and estimate total output by assuming the other side contributes similarly. That assumption may not hold for every rider or under fatigue. Dual-sided systems measure each side separately and may provide additional balance or pedal-dynamics information, but more data does not automatically improve training decisions.
Compare what the device actually measures, how its manual describes accuracy and whether the extra detail answers a question you have. A side-to-side balance figure is not automatically a sign of injury or a reason to alter technique. Ask a qualified bike fitter or clinician before using it to explain pain or asymmetry.
Install and service the device according to its manual
Follow the exact instructions for torque, washers, pedal orientation, crank clearance and any required firmware or app setup. Incorrect installation can damage components or create a safety problem. If you do not have the tools or confidence to install it correctly, use a qualified bicycle mechanic. Recheck fasteners as the manual specifies.
Keep the meter's model number and installation records. If you change crank length, pedals or drivetrain, confirm whether the meter needs a new setup or calibration. Do not continue riding if a component is loose, damaged or making an unusual sound. A power reading is not worth a mechanical risk.
Learn the zero-offset and calibration language
Manufacturers use terms such as zero offset, calibration, slope and dynamic calibration in specific ways. Read the current instructions for your device and head unit, including whether the bicycle should be unloaded, at a particular temperature or in a certain orientation. Do not copy another brand's steps. A zero-offset request is generally a sensor reference step, not proof that the meter is perfectly accurate in every condition.
Record any error message and check battery, firmware, pairing and installation before repeating the procedure. If the reading remains implausible, consult the manufacturer or a bike shop. Avoid “correcting” data manually without a clear reason, since doing so can make sessions impossible to compare.
Keep power sources consistent for useful comparisons
A trainer and an on-bike meter may report different values because of measurement location, temperature, calibration, drivetrain losses, power smoothing and device algorithms. Even two meters on the same bicycle can disagree within their stated tolerances. Decide which source defines a workout and use it consistently when comparing power-based training.
If you switch from one source to another, note the date and do not treat the numbers as a continuous series. A small offset does not necessarily mean one unit is broken. Compare manufacturer accuracy specifications and test conditions, and contact support for a large unexplained difference. Avoid mixing trainer-recorded intervals and outdoor targets without understanding the relationship.
Set up a simple display before adding advanced fields
For many age-group athletes, a screen with current or lap power, elapsed time and a course cue is enough. Too many fields, alerts and color zones can make riding less safe. Set a data page you can read quickly, and avoid looking down through technical turns, traffic or a crowded course. Use event rules for phones, headphones and communication devices.
Advanced features such as left-right balance, power phase or platform center offset may help a coach explore a specific question, but they are not required for a first meter. The Garmin Rally manual, for example, distinguishes cycling-dynamics data available only on compatible dual-sensing systems. Check the exact device documentation rather than assuming every metric is available on every model.
Use a power zone only after understanding its reference
A zone chart may be based on functional threshold power, a laboratory test, a field test or a manufacturer's estimate. The test protocol, athlete preparation, weather and device can change the result. A zone label is not universal between apps, and a test value is not a medical assessment or a guarantee of race performance.
If using a structured plan, confirm which threshold definition it expects. Complete tests only when you are healthy and prepared, and follow an appropriate coach's protocol. Avoid repeated maximal testing because an app changed its zones. In a race, adjust for heat, hills, wind, fatigue and the run that follows rather than chasing a static number.
Protect triathlon bike fit and handling when adding hardware
A pedal meter can change stack height or require a different cleat setup; a crank or spider system may affect chainline or component clearance. A new cockpit mount, cable route or battery door can also create a distraction if it conflicts with your aero position. Have a qualified mechanic or bike fitter check compatibility, cleat engagement, steering and braking.
Make changes early enough to practise starts, stops, turns, drinking and looking ahead in the actual setup. Do not experiment with fit during a key race. If an accessory shifts your position or causes discomfort, address it before increasing training intensity.
Make power useful on the course, not just in the file
A pacing plan can use power to limit avoidable surges, but course and athlete context matter. A short rise, headwind or technical section may make constant watts awkward or unsafe. Follow road conditions and race rules first. Use a plan that states how effort changes on climbs, descents, turns and aid stations, and keep the run in mind when deciding how hard to ride.
During training, practise the same data display and effort decision you expect to use in competition. A first-time athlete does not need to race by power to benefit from owning a meter. If monitoring makes you ignore discomfort or traffic, simplify the screen or stop using it in that context.
Compare battery life and ongoing ownership costs
Check battery type, expected service interval, charging method, weather protection, available replacement parts and warranty. Manufacturers may list battery life under specific conditions, and actual use varies with temperature, transmission mode and recording. Pedal meters can need new batteries or seals; crank-based systems may need different service. Include installation, cleats and head-unit compatibility in the full cost.
If you plan to travel, pack charging or replacement supplies in accordance with airline rules and the product manual. Confirm the model can be serviced where you live. A meter that fits the initial budget but cannot be maintained may not be a good long-term choice.
Decide what success would look like after a month
Before buying, name one decision the meter might improve: pacing a familiar interval, avoiding repeated surges, comparing indoor and outdoor work or communicating more clearly with a coach. After several weeks, ask whether it actually changed that decision or only added another number to review.
If it did not help, you can hide the fields, return the device if terms allow or use it less often. A purchase should not create pressure to train more or to spend on additional sensors. The heart-rate pacing guide and periodization guide explain how to place a metric inside a larger plan.
Sources
Sources are listed so readers can verify consequential claims and dated details.
- Rally power meter calibration instructions — Garmin (accessed September 24, 2026)
- SRAM service: power meters and drivetrain documentation — SRAM (accessed September 24, 2026)
Frequently asked questions
Is a left-only power meter useless if my legs differ?
No, but understand that it estimates total power from one side and can be affected by changing asymmetry. That limitation may matter for some comparisons. It is not a diagnostic test for injury or weakness; choose the measurement system according to the decisions and consistency you need.