Tubeless Triathlon Tires: Setup, Leak Checks and Repairs
Compare tubeless tire compatibility, setup, pressure checks, sealant maintenance and roadside repairs for a triathlon bike.
By Lotte
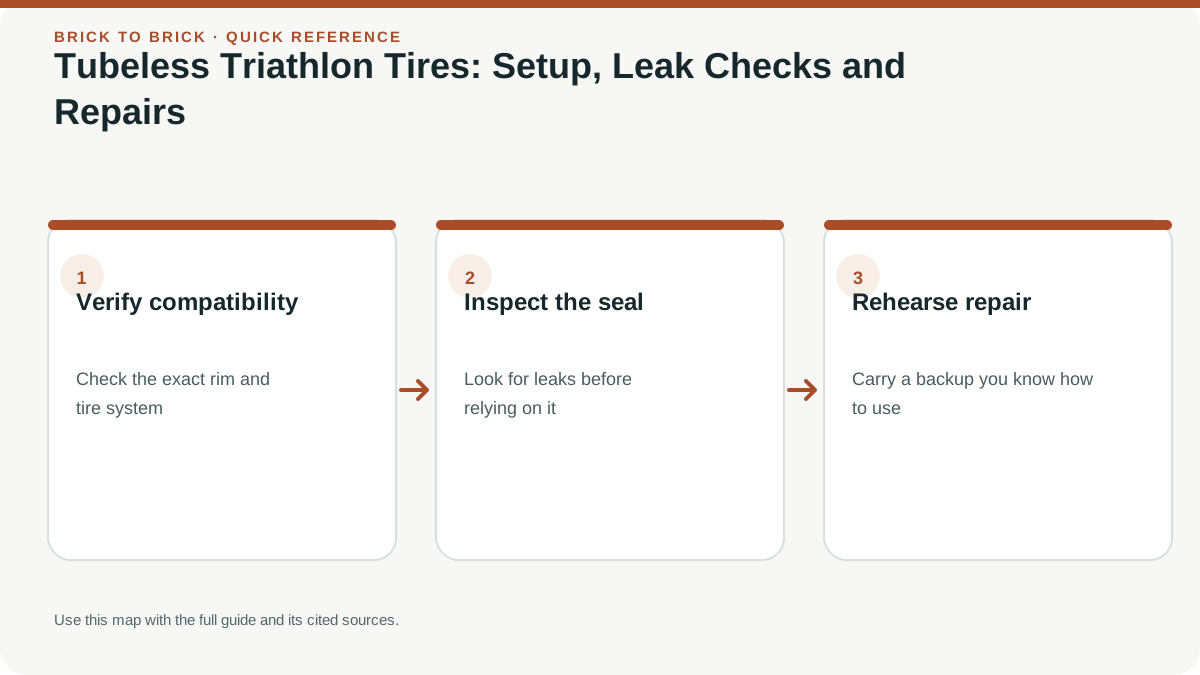
A dependable tubeless setup requires a compatible tire, rim, tape, valve, sealant and pressure. Follow both component makers’ instructions, check for leaks before racing and carry a repair plan for punctures sealant cannot close.
Key takeaways
- 1Compatibility and pressure limits come from the exact tire and rim manufacturers.
- 2Tubeless can seal some small punctures but is not puncture-proof.
- 3Carry a compatible tube or repair method and practise using it before an event.
In this article
- 1Confirm compatibility before buying supplies
- 2Prepare a clean, inspectable installation
- 3Seat the tire within the permitted inflation method
- 4Diagnose air loss by location
- 5Carry a repair method you have practised
- 6Schedule maintenance around the race, not at the last minute
- 7Distinguish initial setup checks from roadside decisions
- 8Check a repaired setup before making it the race setup
- 9Understand the tubeless system before changing a wheel
- 10Install with clean parts and the maker’s inflation procedure
- 11Set pressure for the whole tire-and-rider system
- 12Use the repair kit that matches the failure
- 13Maintain sealant and inspect before travel or race week
- 14Build a checklist around the exact wheel and tire
- 15Use a calm roadside repair sequence
- ?Frequently asked questions
Confirm compatibility before buying supplies
Check the exact wheel and tire models, sizes and generations. Confirm whether the rim is hooked or hookless and which tire widths the manufacturer permits. A tire labelled tubeless-ready is not automatically approved for every hookless wheel.
Identify the correct tape width, valve type, sealant and installation procedure. Do not mix products solely because a forum user reports success. Manufacturer instructions may include restrictions on sealant, inflation methods or temperature.
If compatibility is uncertain, stop before mounting. The tire-pressure guide explains why pressure limits cannot repair a mismatched combination.
Prepare a clean, inspectable installation
Remove old material as instructed and inspect the rim bed, bead seats and tire. Look for damaged tape, rough edges, cuts or debris. Replace suspect components rather than hiding them under more tape or sealant.
Apply tape and fit the valve according to the wheel maker's directions. A valve that is overtightened can distort the seal; one that is loose can leak. Use the specified process rather than a universal number of turns.
Keep sealant and cleaning products away from disc rotors and brake pads. Work where spilled liquid can be handled safely and where the entire bead line is visible.
Seat the tire within the permitted inflation method
Fit the tire and add the specified sealant quantity using the approved method. Follow the tire and wheel instructions for seating the bead and never exceed the system pressure limit in an attempt to force it into place.
If the bead does not seat, deflate and inspect the cause. Check the mounting technique, tape and compatibility instead of escalating pressure. Some systems need a suitable high-flow pump, but equipment capability does not authorise unsafe pressure.
Inspect the bead indicator around both sides. An uneven line, bulge or unexpected sound warrants stopping and checking before riding.
Diagnose air loss by location
A leak at the valve can involve the valve base, core or rim tape. Air emerging near a spoke hole can indicate a tape problem rather than a spoke needing sealant. Leakage at the bead may involve seating, contamination or damage.
Use the manufacturer's approved leak-check method and note how quickly pressure changes. A small initial change and a tire that becomes flat overnight are different situations. Do not declare the setup race-ready after a single successful inflation.
Complete local rides with an easy route home and recheck pressure. Keep a record so a new, faster loss is apparent before race morning.
Carry a repair method you have practised
A small puncture may seal, but a larger cut, valve problem or damaged tire may require stopping and another solution. Carry compatible repair equipment and learn the approved procedure before the race.
If carrying an emergency tube, confirm that the tire and rim combination allows it, that the tube size and valve length fit, and that you can remove the tubeless valve. A tube does not make an unapproved hookless tire safe. Inspect for sharp objects before inserting it.
Know when a tire is too damaged to continue. A repair that holds air while stationary may still be unsafe under riding loads.
Schedule maintenance around the race, not at the last minute
Sealant maintenance intervals depend on product, climate, tire and storage. Follow the maker's instructions and inspect before key events. Do not assume a fixed top-up amount applies to every tire size.
After transporting the bike, check pressure and function again. If flying, review restrictions on sealant and inflation equipment in the air-travel guide.
Use a proven setup for race day. The benefit of tubeless is practical only when you understand installation, maintenance and the limits of roadside repair.
Distinguish initial setup checks from roadside decisions
At home you have time to inspect tape, valve seating, tire beads and compatible sealant. On the roadside you may have limited light, tools and safe working space. Your repair kit should match what you can actually do there.
Before relying on a spare tube, rehearse removing the tubeless valve and fitting the tube to this wheel. Check valve length and whether tire removal is realistic with the tools you carry. A damaged tire casing, displaced bead or damaged rim is not fixed simply by inserting a tube.
If sealant fails to close a puncture, move out of traffic before inspecting it. Use a plug only where the tire and repair-system instructions allow it; sidewall or structural damage can require stopping. Keep fingers and tools away from a pressurised failure. The useful pre-race test is whether you can identify a problem and choose a safe response, including calling for collection.
Check a repaired setup before making it the race setup
A repair that holds air immediately still needs an appropriate inspection and follow-up. Record what failed, which repair was used and any tire, valve or rim work performed. Follow the repair and tire manufacturers' instructions about continued use; some repairs are intended only to get you home.
Before a later ride, inspect seating, pressure behaviour and the repaired area. Do not assume that a small puncture and a structural cut have the same implications. If the cause remains uncertain, ask a competent mechanic to inspect the system.
Carry the tools and supplies that match your current tires, including any valve or wheel changes. A kit assembled for your previous wheelset can quietly become unsuitable after an upgrade. Test access to the kit with the bike packed as it will be for the race. Storing a tool beneath several tightly secured bags may make a nominally complete kit impractical to use.
Understand the tubeless system before changing a wheel
A tubeless bicycle tire seals against a compatible rim without an inner tube. The system usually involves a tubeless-compatible tire and rim, airtight rim tape, a valve, sealant where specified, and a pressure within the limits for that exact combination. “Tubeless-ready” on one component does not prove that a different tire, rim and width are approved together. Compatibility is determined by the wheel and tire manufacturers, including whether the rim uses hooks or a hookless design.
Before buying sealant or a pump, write down the full model and size printed on the tire and wheel. Find the manufacturers’ compatibility list, maximum pressure, approved tire widths, installation method and sealant instructions. For hookless rims, use only a tire and pressure the wheel maker explicitly permits. Do not rely on a forum post, a similar-looking wheel or a pressure that worked on a different bike.
Tubeless can reduce the frequency of some small punctures because sealant may close a hole while the wheel turns. It does not make punctures impossible, prevent every cut or remove the need to carry repair equipment. A large gash, damaged bead, failed valve or poor tape seal may not be fixed by sealant. Riders should still know how to install a compatible tube or use the repair method their equipment maker permits.
Install with clean parts and the maker’s inflation procedure
Remove the tire and inspect the rim before reusing old tape. A split, wrinkled, displaced or contaminated tape can cause air loss or expose a spoke hole. Check the bead seat for damage and confirm the valve base seals against the rim. If you see a crack, dent, sharp edge or a tire bead that is visibly damaged, stop and ask the wheel or bike manufacturer or a qualified mechanic.
Fit the tire according to the exact instructions. Some tires can be seated with a floor pump; others may require a tubeless inflator or compressor, but only a permitted method should be used. Keep fingers clear of the bead and follow the pressure limit printed or specified for the system. Do not exceed the rim’s maximum pressure to force a stubborn bead into place. If the tire will not seat, release pressure and troubleshoot rather than continuing to inflate.
Add the sealant type and amount recommended by the tire or sealant maker for the tire size. Sealant can irritate skin or eyes, and aerosol or compressed-air tools introduce additional risks; use the product instructions, ventilation and eye protection where specified. Rotate and inspect the wheel as directed so the sealant can reach the interior. Record the installation date and product used; that information helps you interpret a later leak.
Set pressure for the whole tire-and-rider system
Tire pressure is not determined by race distance or the word tubeless. It depends on tire width, actual measured casing width, rider and bicycle load on each wheel, rim design, road surface, weather, tire construction and the manufacturer’s pressure range. The front and rear wheels may need different pressures because they carry different loads. A calculator can offer a starting estimate, but it cannot inspect your rim or know how a tire feels on your route.
Begin within the allowed range for the exact combination and change pressure in small, deliberate steps on a familiar route. If the tire feels harsh, skips over roughness or loses grip, pressure may be too high for that setup. If it squirmed, bottomed against the rim or felt unstable in a corner, it may be too low or the tire may be incompatible or damaged. Those observations are not proof of one cause; inspect the system and change one variable at a time.
Do not copy a pressure table for a different wheel size, tire width or rider load. Hookless rims can have lower maximum pressure limits than hooked systems, and the tire maker’s instructions matter. Check pressure before the ride with a reliable gauge and recheck after travel, temperature changes or a service. Our tire-pressure guide can help organize the inputs, but the component maker’s limits take priority.
Use the repair kit that matches the failure
A small puncture may seal, but listen and watch for continued pressure loss. If sealant sprays or the tire deflates, move away from traffic and stop in a protected place. Do not try to troubleshoot while riding. Check the outer tire for an embedded object and remove it only when you can do so safely; a sharp object may be holding the hole partly closed.
Plugs are designed for some punctures, but not every tire, location or size of damage is repairable. Follow the tire maker’s advice on plug use and inspect the tire after fitting one. A compatible inner tube can be a fallback if the tire and rim instructions allow it and the casing is safe to use. Remove or cover sharp objects, use the correct valve and protect the tube from any remaining debris. A tube cannot make a cut tire or damaged rim safe.
Carry tire levers that will not damage your rim, a suitable tube or permitted plug, a pump or inflator compatible with your valve, and any tool needed to remove the wheel. Practise at home with the exact wheel. CO2 may affect some sealants; check both product instructions and carry a hand pump if that is your reliable backup. The repair you can perform safely is more useful than a compact kit whose parts you have never tested.
Maintain sealant and inspect before travel or race week
Sealant does not last the same length of time in every tire. Dry or hot conditions, the product formula, tire size and time in storage can alter how quickly liquid evaporates. Follow the sealant manufacturer’s recommended inspection interval rather than assuming one calendar schedule works for everyone. A removable valve core can make a level check easier if the maker permits it; do not force a tool onto a clogged or delicate valve.
Before a key event, inspect the tread, sidewalls, bead, rim tape, valve and tire pressure. Spin the wheel and look for visible damage or sealant seepage. Check that the tire is seated evenly around the rim. If you have topped up sealant, reseated a bead or made a repair, test the bicycle on a safe ride well before race morning. Last-minute changes remove the opportunity to detect a slow leak or handling problem.
Transport can unseat, damage or deflate a tire, so recheck after packing and unpacking. Keep the compatible repair supplies accessible and confirm that any spare tube works with the rim and valve. If the system loses air repeatedly, stop treating it as routine maintenance; inspect tape, valve, tire and rim or take it to a qualified mechanic. For travel preparation and flat repair, see packing a triathlon bike, roadside flat repair and bike compatibility.
Build a checklist around the exact wheel and tire
Tubeless setup is a system: tire, rim, rim tape, valve, sealant, pressure and maintenance all need to work together. Start with the wheel and tire manufacturers’ compatibility guidance, including approved tire widths and hookless requirements. Do not infer that a tire is safe on a rim because the bead can be forced into place. Hookless rims can have specific tire and pressure limits; verify the current documents for both components and stay within the stricter limit.
Inspect the rim bed, tape, valve hole and tire bead for damage. Use tape of the specified width and layer count; tape that is too narrow, wrinkled or punctured can leak. Install the valve so its base seals against the rim and avoid overtightening a locknut. Use sealant compatible with the tire and rim. Some products can harm particular materials or sensors, so follow manufacturer instructions instead of assuming all sealants behave alike.
After inflation, confirm that the bead is seated evenly on both sides. Stay within the manufacturer’s maximum pressure and use suitable equipment. Keep your face and hands out of the tire’s path during inflation. If the bead will not seat, stop and inspect the fit; adding pressure beyond limits or using an improvised flammable inflation method can cause serious injury. A bike shop can diagnose a difficult setup. Once seated, check pressure after several hours and again the next day, rotate the wheel to distribute sealant and inspect for leaks.
Record the tire model, rim model, sealant and installation date. This helps diagnose a leak or replacement issue. Tubeless can reduce some puncture interruptions, but does not make a tire puncture-proof or eliminate roadside repairs. Carry a compatible tube and basic tools for a failure the sealant cannot close, and learn to use them before a race.
Use a calm roadside repair sequence
If sealant sprays from a puncture, move out of traffic before inspecting the tire. Do not reach toward a spinning wheel or continue riding on a rapidly deflating tire. Once stopped, identify the puncture without putting fingers inside the tire. Rotate the hole downward if practical so sealant can reach it, then wait for it to work. Follow the tire and sealant makers’ guidance for any plug or repair product.
If the hole will not seal, use a plug only if it is appropriate for the tire and permitted by the manufacturer. Carry a tool you know how to use and avoid enlarging the puncture unnecessarily. A sidewall cut, damaged bead, bulge or tire that will not hold pressure is not a routine sealant repair. If installing a tube, first remove the source of damage and inspect the inside carefully; debris can puncture the replacement tube. Gloves help with sealant and sharp objects.
When a tube goes into a tubeless-ready tire, remove or secure the tubeless valve and keep its parts together. Check whether sealant reached rim-brake surfaces or a disc rotor. Do not touch pads or rotors with sealant, lubricant or oily hands. Inflate within the tire and rim limits, then check that the tire is seated and the wheel is secure before riding. If the casing is compromised, arrange transport instead of trying to nurse it to the finish.
Rehearse repairs on the wheel you race with. A plug, tube, lever, pump or inflator must fit your valve and storage. CO₂ cools rapidly, and sealant compatibility varies; follow instructions and practise safely. Confirm you can reach the equipment without losing other items. Tubeless is practical for racing only when you can maintain and repair it with the tools and skills available to you.
Sources
Sources are listed so readers can verify consequential claims and dated details.
- Hookless tire compatibility — SRAM / Zipp (accessed September 13, 2026)
- Zipp road wheels user manual — SRAM / Zipp (accessed September 13, 2026)
- Zipp tubeless tire installation manual — SRAM and Zipp (accessed September 24, 2026)
- Tubeless system guidance — Schwalbe (accessed September 24, 2026)
- Shimano bicycle maintenance manual — Shimano (accessed September 24, 2026)
Frequently asked questions
Are tubeless tires always faster for triathlon?
No universal speed benefit applies to every tire, rim, pressure, surface and rider. Choose based on compatibility, comfort, maintenance and your tested setup.
How often should I add sealant?
Follow the sealant and tire makers’ instructions and inspect the actual condition. Drying depends on product, climate, storage and riding.